Creating an Incident
How to create items on the module
Introduction
In this episode, we will show you how incidents are created. The process you follow here will be tightly related to the stages you defined and the process your organisation has decided to use to identify Incidents. Our previous episodes cover these activities.
Actions
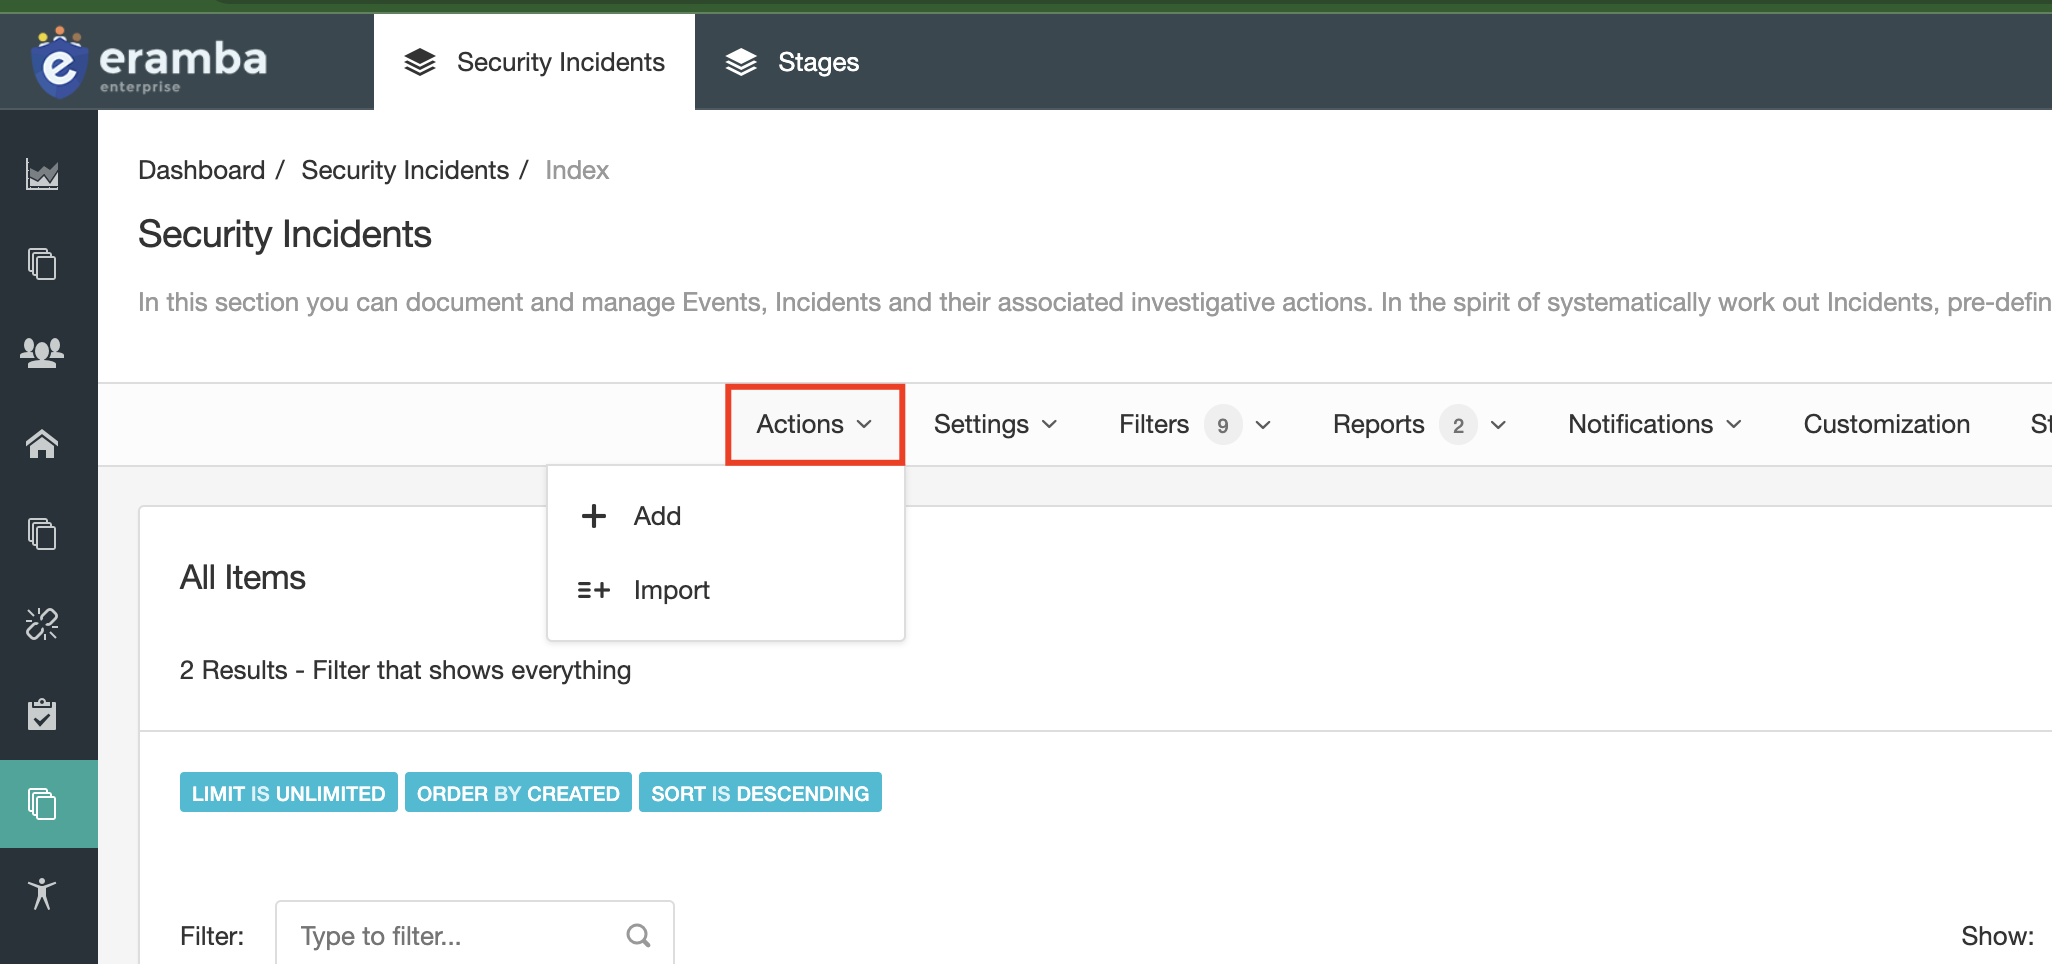
To create an Incident click on “Actions” and then “Add.” (“Import” can be used for importing multiple policies at once.)

Type
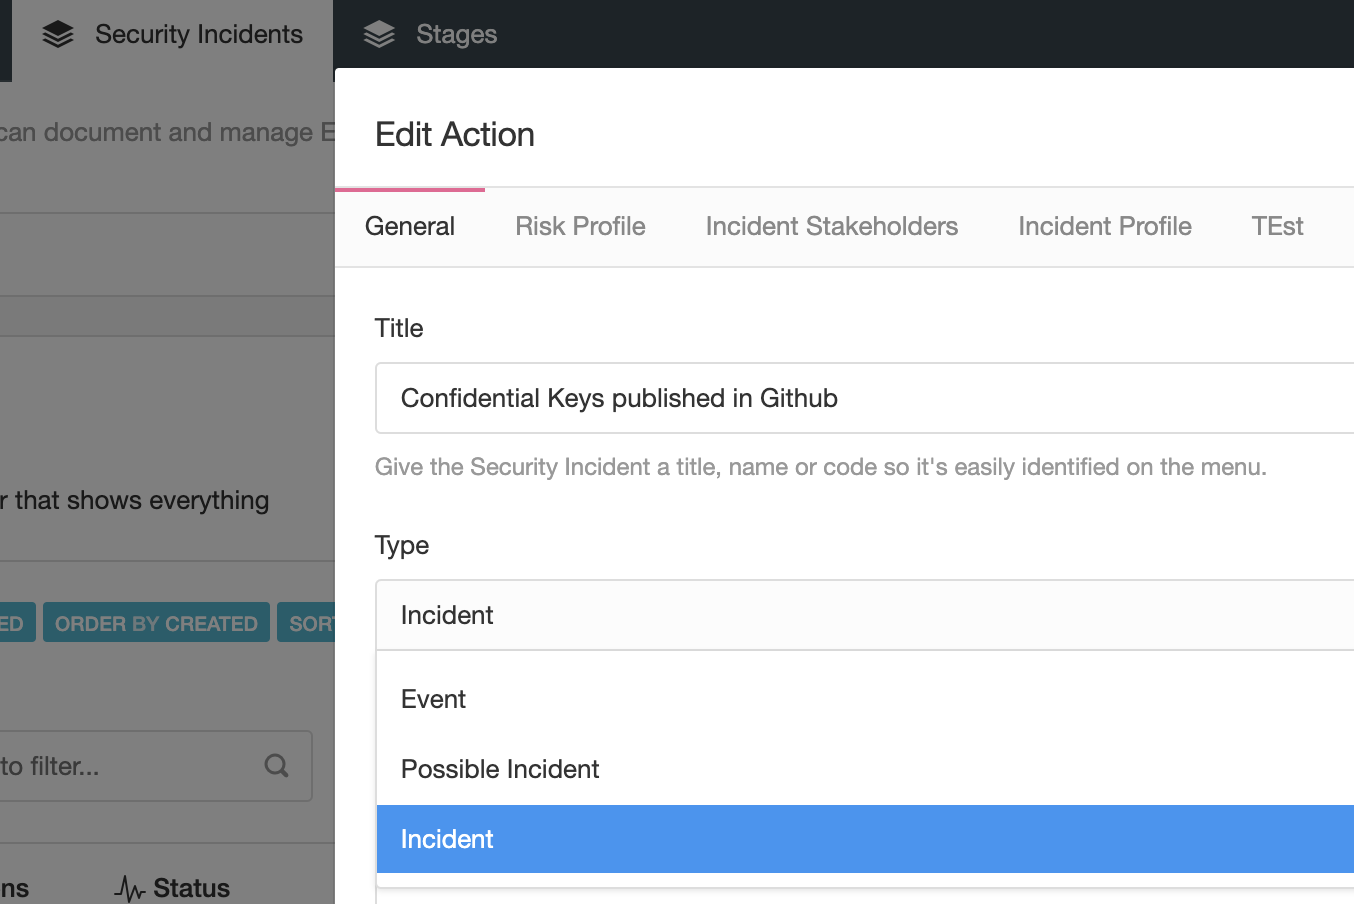
Items on this module can be classified as Events or Incidents, this typically happens throughout the lifecycle of an item. Changes done on this field (or any) will be logged so you can always track down who changed the type of item.

Status
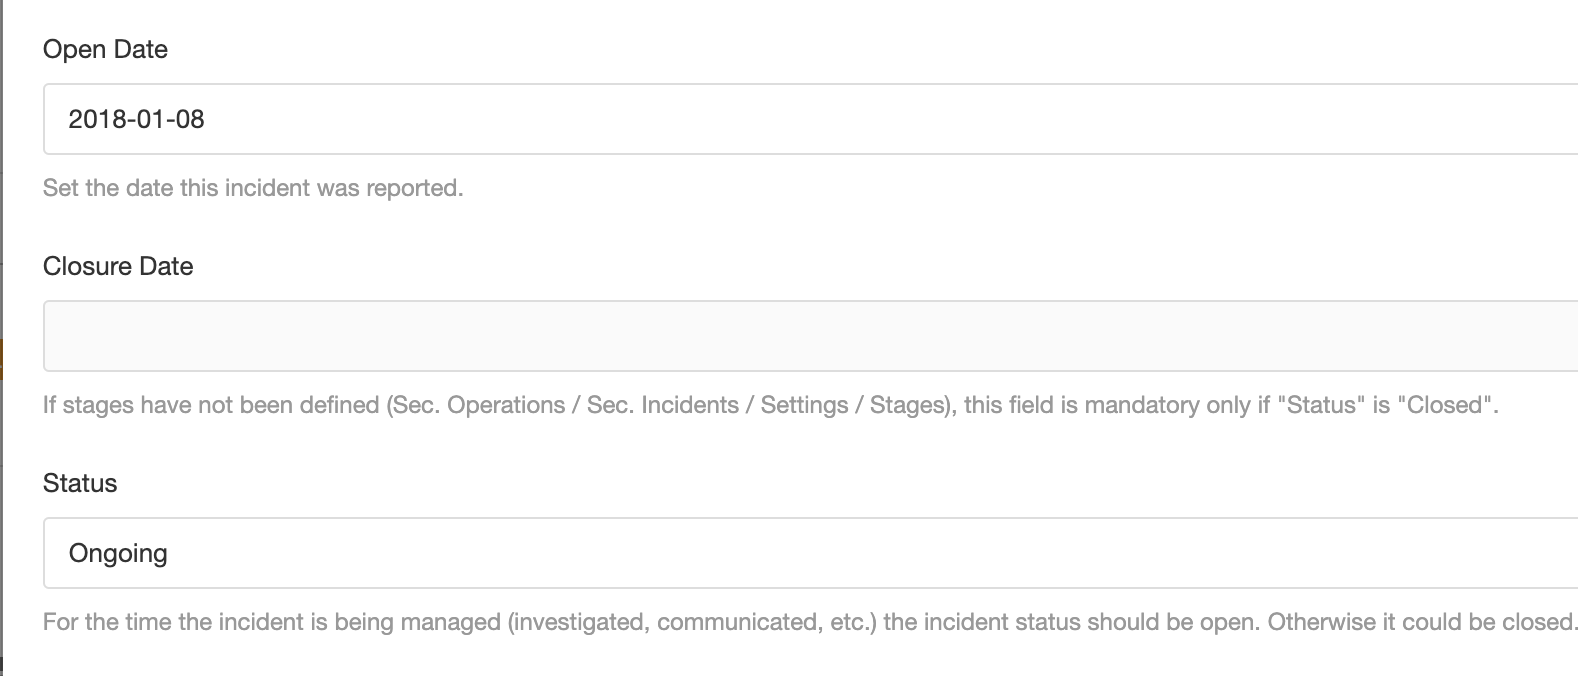
Incidents have dates (“Expiration Date” and “Closure Date”) and statuses (“Open” and “Closed''), and these two field types are related to each other.
- While an Incident is ongoing (meaning it is still applicable), the “Open Date” should have a value (some date), the status should be set to “Open,” and its “Closure Date” field should be left empty.
- When an Incident is no longer needed, the status should be set to “Closed” and the “Closure Date” set to a date

If the “Closure Date” is in the past while the Incident is in status "Open", the Incident will then be automatically applied to an “Expired” status
Roles
By default the GRC Contact role is available on the incident, this is used te describe the team or person working on the incident. You can add additional roles if you want using Custom Fields.

Risks
As explained before, Incidents can relate to known Risks that provide you with contextual and containment information about the Incident you are working on.