Post Install Configurations
Basic configurations you must review before continuing
Introduction
After the installation and your first login to the tool, you will need to complete a few additional installation steps using the web interface.
Mail Settings
At "System" / "Settings" / "Mail Configuration" you need to define how you want eramba to send emails, complete the form and test settings. An email should automatically be sent to the address you define on the settings.
If you are using "Internal Service" instead of "SMTP" you will need to configure your Docker container to be able te relay emails to your SMTP server.
Time Zone
Adjust your timezone settings at "System" / "Settings" / "Time Zone"
Enterprise Activation (Only Enterprise Customers)
You need to include that key provided to you when you purchased eramba at "System" / "Settings" / "Enterprise Users".
Then click "Register", if everything is ok you will see the notification that your licence was successfully activated.
If there is some problem with activation please write an email to support@eramba.org together with the screenshot from "System" / "About"
Custom Logo
Under "System" / "Settings" / "Custom Logo" you can change the default logo on the system so it reflects your corporate identity, you will need a transparent background if you want to match eramba colour palette.
Translations
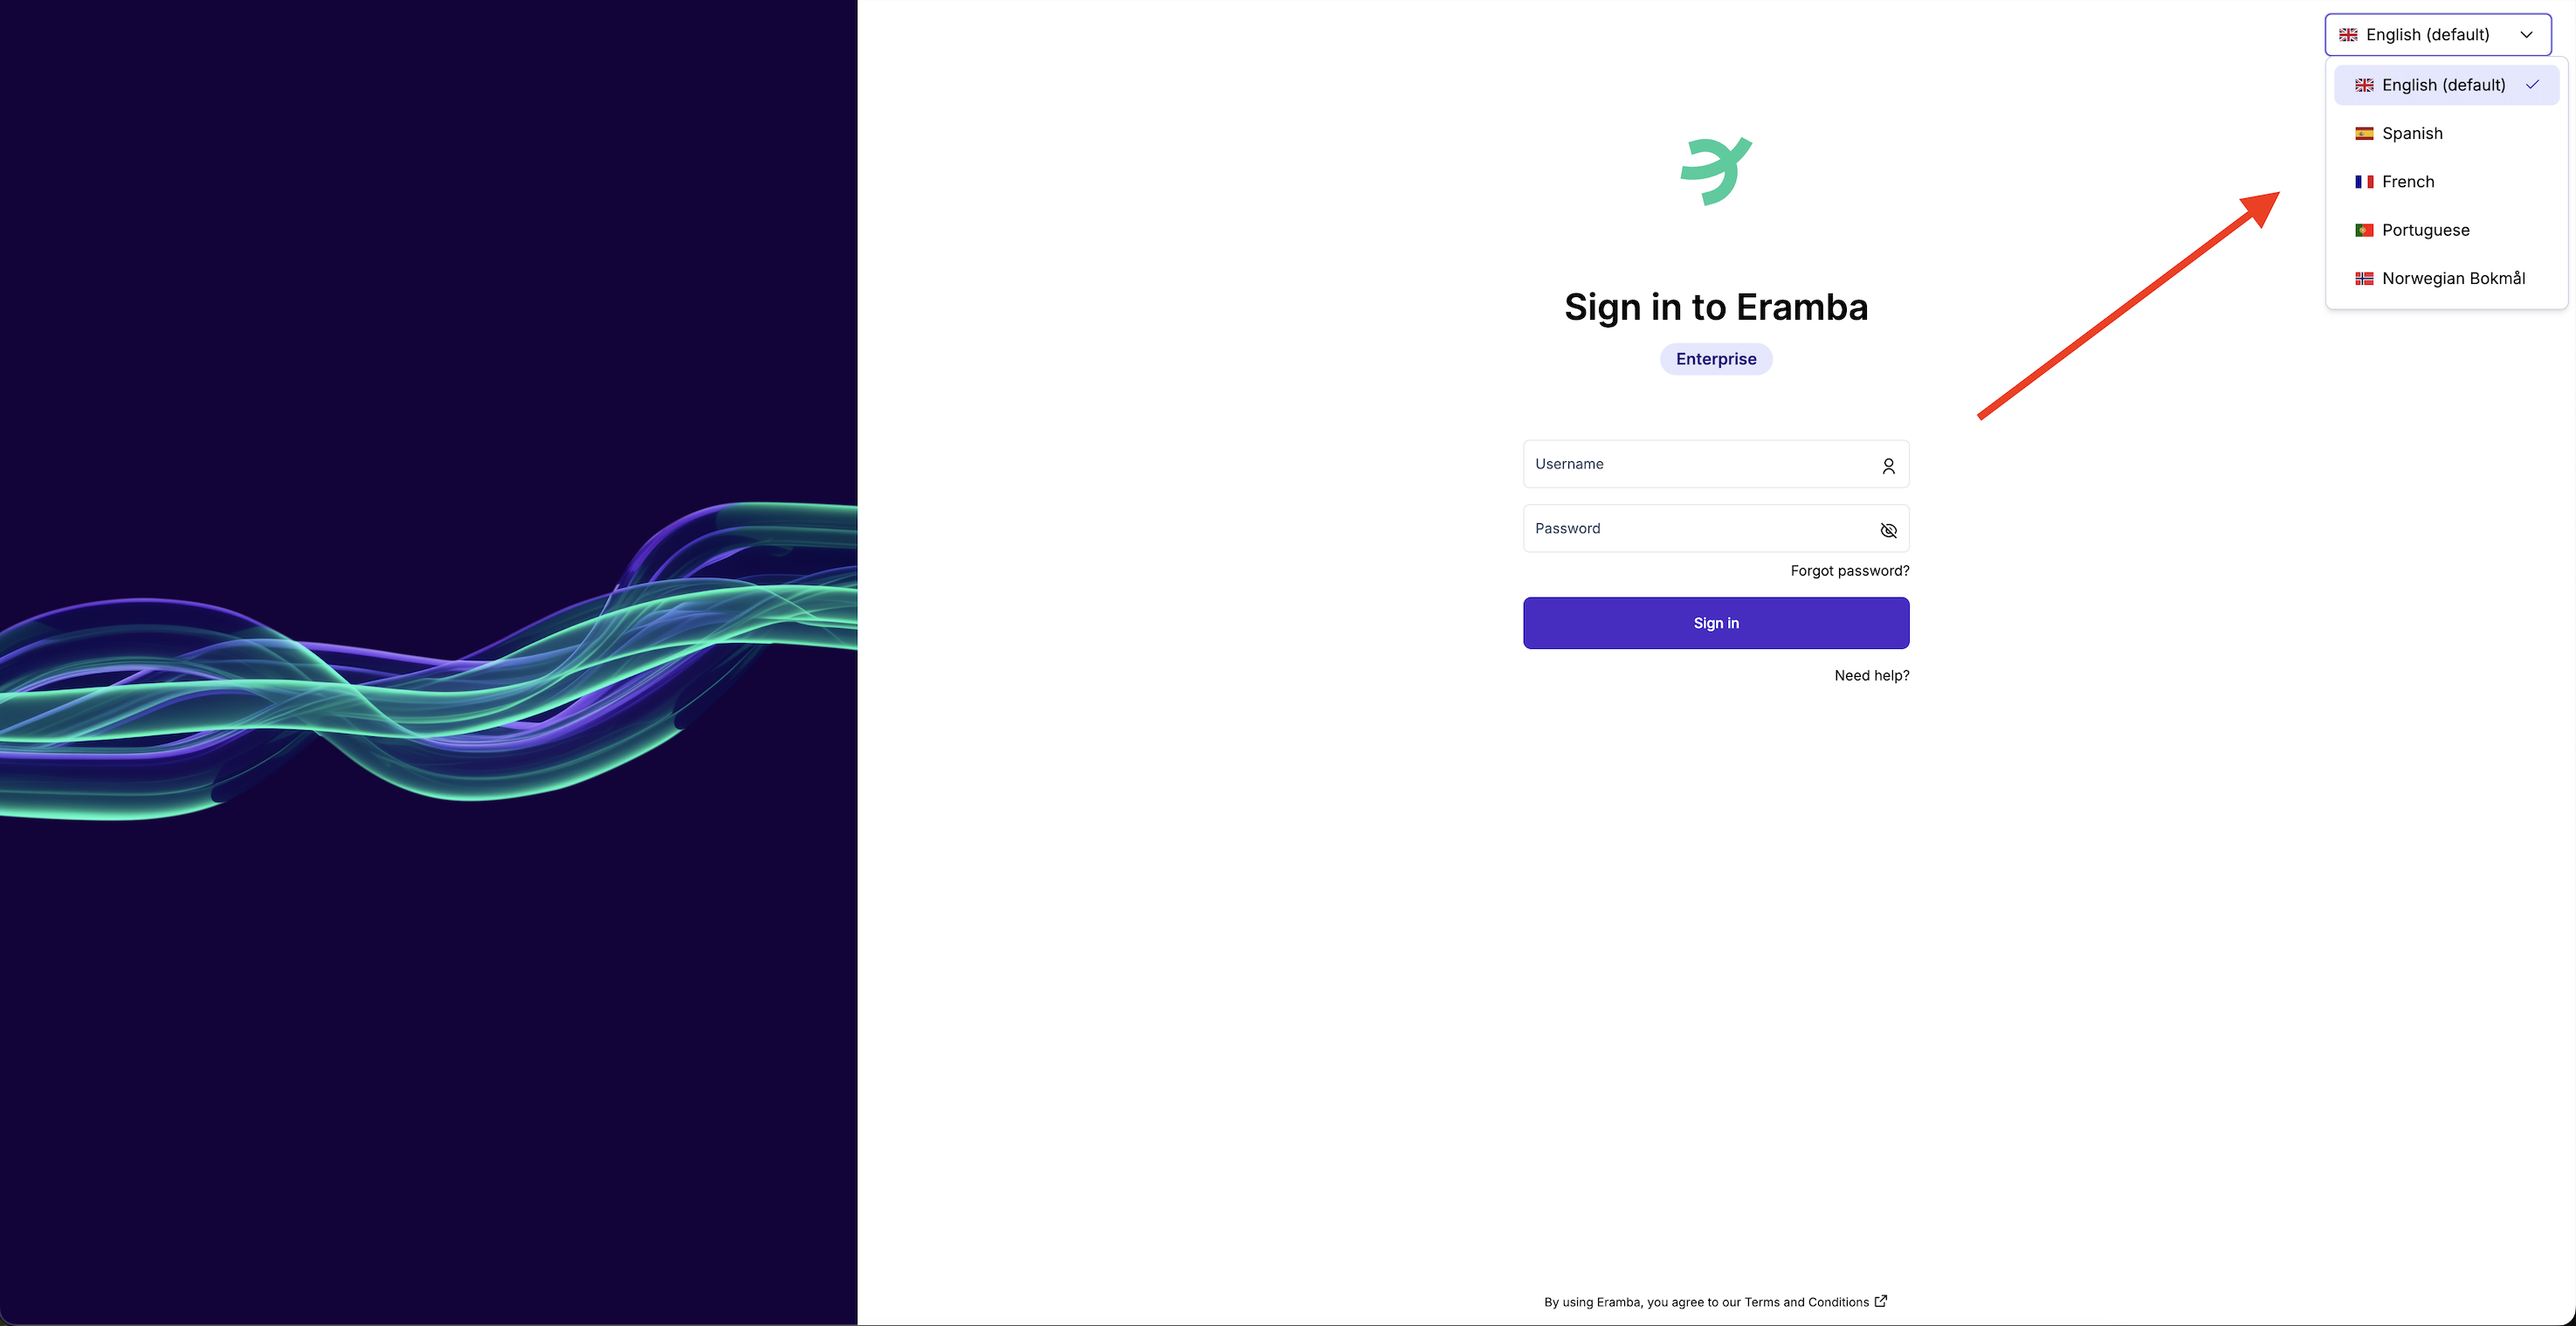
For the most part, eramba can be translated into any language using POT / PO files. System users will select the language of choice at login and that will “stick” on every subsequent login they perform.

The system base language is English, you can download this template (called POT file) from System / Settings / Languages and using a PO editor (poedit is a very popular choice) translate every string of text on the system.
Bare in mind some of the template strings include special variables that should not be translated (%s for example). Once a translation has been generated it can be uploaded and made active on the system.
On every new release eramba typically updates strings of text and your translations will need to be updated to reflect these changes - PO editors have the capability of merging the system template (which you can download at any time) and any translation you have made. Please refer to your translation software to understand how that works.
Once a translation has been updated all there is to is to “Edit” your translation and upload the PO file again.
Eramba includes by default some standard translations which can be disabled (not shown at the login page) if you wish. Simply edit the translation and disabled it.
You can choose the default language (to other languages than English) using the setting on the top bar menu. In this way you could disable all languages and only leave your local preferred language.