Testing Notifications
We teach you how to test your notifications
Introduction
Once you create notifications you will want to test them, to see how the email looks like and in particular test what users will see when they click on the link provided on the email and access eramba.
In this episode, we will explain how to test each one of these notifications.
Testing Objectives
Depending on the type of notification you have the type of testing you will do:
- Check email is sent to the right recipient
- Check the email body/subject macros are correctly formatted
- Check email recipients can log in to eramba and see what you want them to see
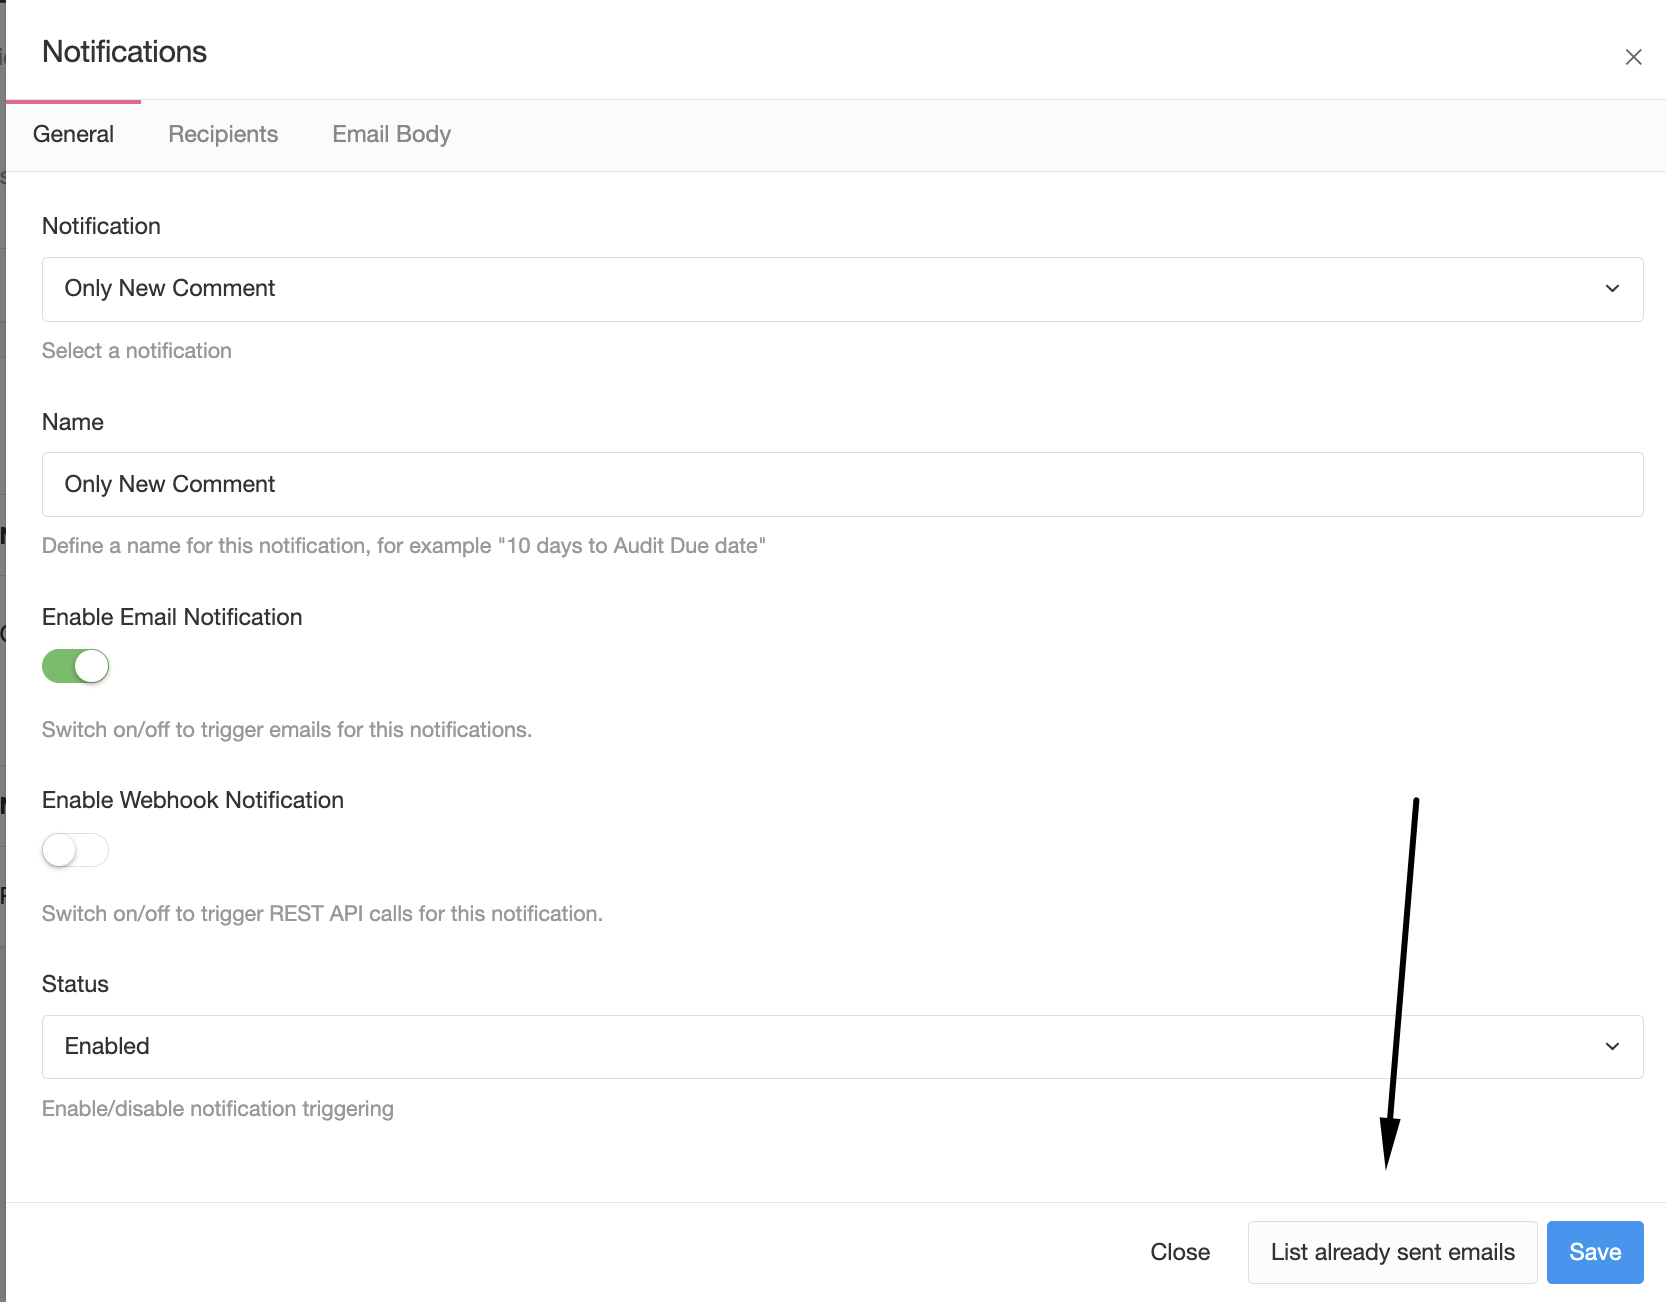
Is important you consider at least the aspects mentioned above o your testing. Every notification you create has a button in the form that lets you see what emails the notification has triggered.

This button is a shortcut to the email queue (Settings / Email Queue) where emails are queued before being delivered (the queue is processed every hour). The rate at which they are processed is defined in the email settings (Settings / Email Settings).
If you are working with Webhooks, all requests will have a similar option.
Process
The process used to test notifications is the same for Warnings, Comments and awareness. Testing report notifications is a little different and much simpler.

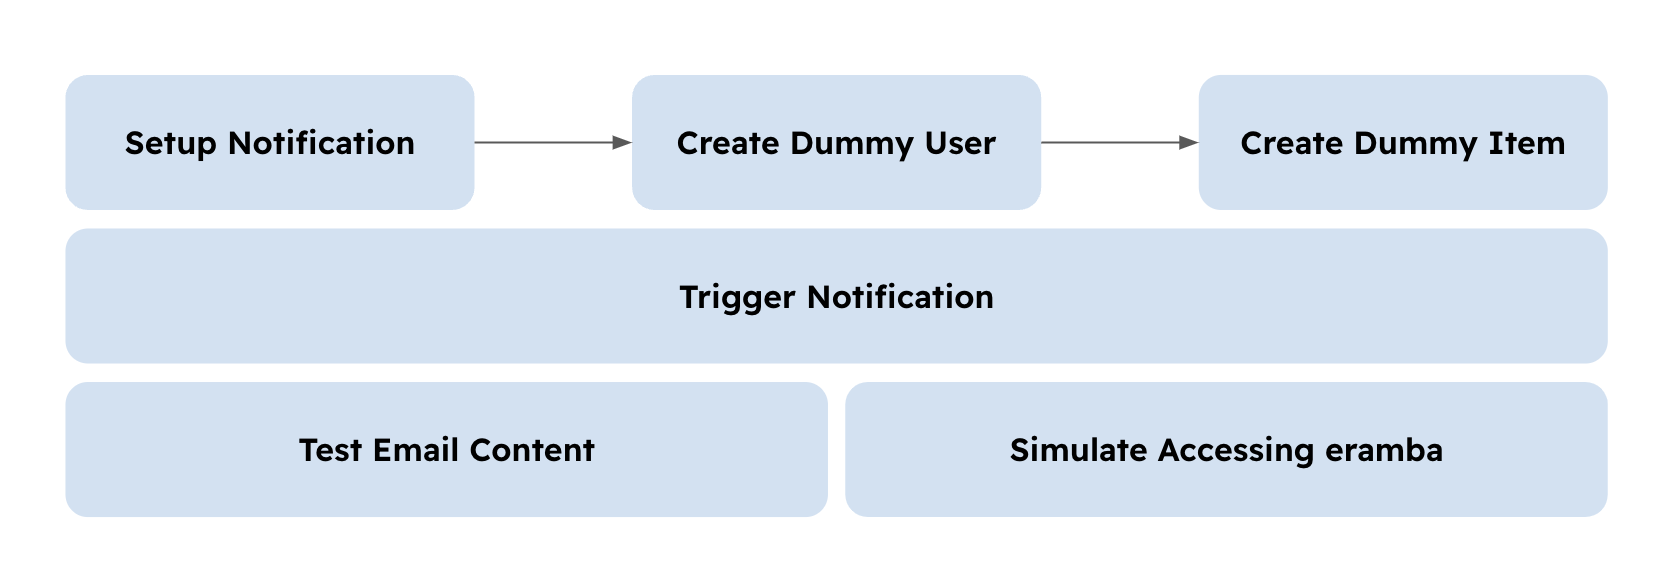
To test notifications you will need:
- Set up a dummy account in eramba with your email and access permissions that match those that you will grant users on that module. This is only really needed if you are doing online feedback.
- Setup the notification you need and want to test
- Create an item on the module and assign that dummy user.
Then you need to trigger the notification, this is done in different ways depending on the notification you want to test:
- Comments & Attachment: you can trigger them immediately, simply write a comment that will trigger the notification.
- Awareness: they will trigger at midnight, you can not test them sooner than that as the batch process that processes them runs only at midnight.
- Warning (Deadlines): you need to create an item with a deadline in "two days" from today, and create a notification that warns you "one day before". At midnight the notification batch process will trigger the notification.
- Warning (Conditions): depending on the condition you might be able to trigger them immediately. For example Audit "Fail" or "Pass", you can edit those values anytime.
- Warning (Dynamic Status): if you can trigger the status anytime then you can test this anytime as well.
Once the email is sent you can test the content of the email and click on the link provided to test the user permissions. You might need to "adjust" permissions and log out - log in a few times until they work as you intend them to work.
Notification Logs
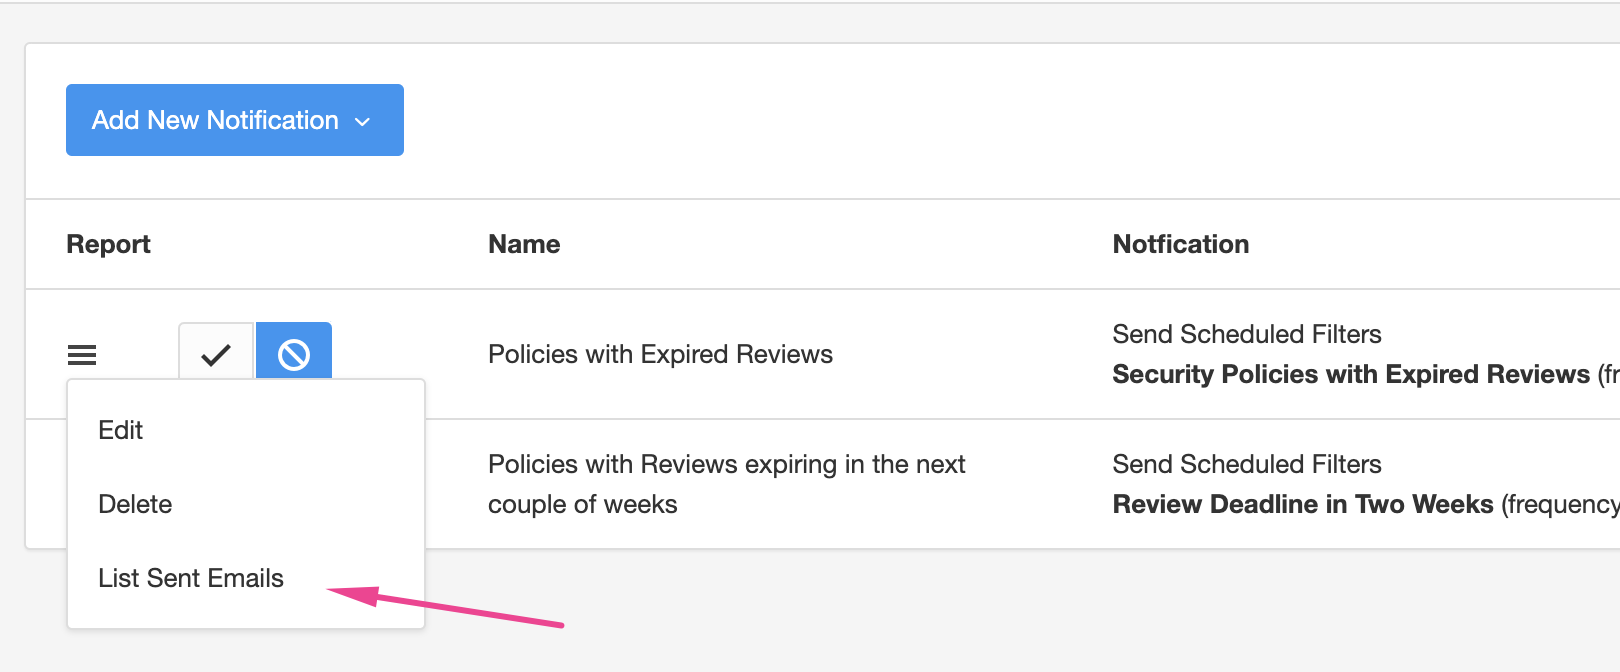
When a notification triggers it sends the email to a queueu (accessible at System / Settings / Email Queue). You can review what emails notifications have triggered by selecting your notification, clicking on the menu and on "List Sent Emails".
This will redirect you to "System / Settings / Email Queue" with a filter that will list only the emails sent by this notification. If there are no emails listed is because the notification has not triggered any email.

Playlist
- Episode 1Introduction to Notifications7 mins left
- Episode 2Notification Attributes4 mins left
- Episode 3Notification Strategy5 mins left
- Episode 4Creating Notifications4 mins left
- Episode 5Built in Notifications1 min left
- Episode 6Testing Notifications3 mins left
- Episode 7Notification Suggestions2 mins left